In this article, we will discuss the PL SQL developer installation. PL/SQL is not a standalone programming language. It is a tool inside the Oracle programming environment.
If you missed the previous topic of this tutorial, then please click here.
For DBMS Tutorial Visit sirfpadhai
Let’s get started….
At first, we need to install Oracle in our system.
This document of environment setup is based on:
- ORACLE 11g,12c
- PL SQL Developer 10.x
Some visual tools to working with Oracle
While SQLServer or MySQL has a download package, in which after you install it, a visual tool is available, after installing Oracle, we need to install another additional visual tool. But it has a variety of choices. Based on my experience, I think that PL/SQL Developer is the best Oracle PL/SQL tool. However, we still look at some other choices:
STEP-1
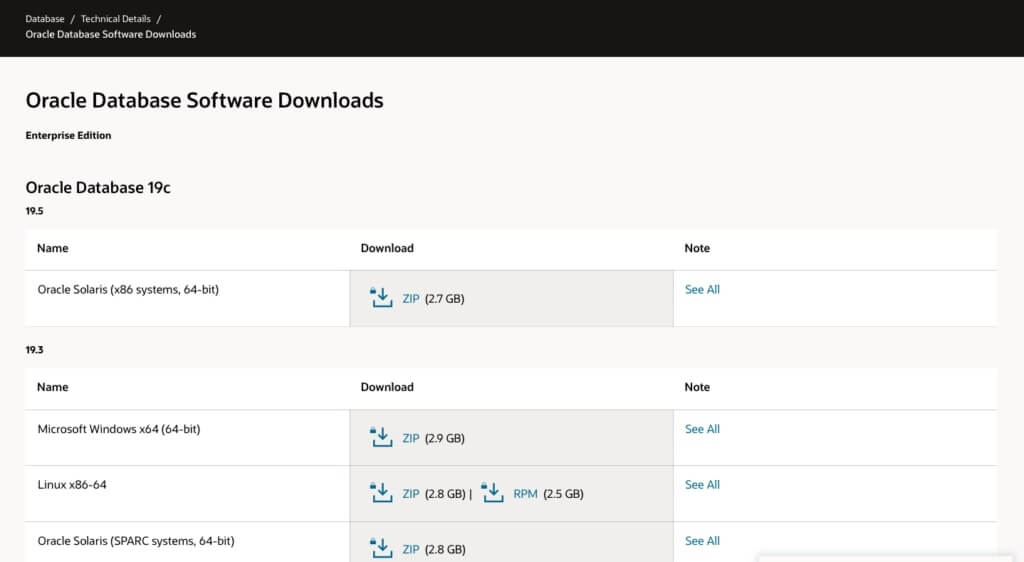
Oracle SQL Developer
Oracle also provides an Oracle SQL Developer visual tool for free, and you can download it at from Oracle official site click here
STEP-2
Set Environment Variables for oracle
In this section, you have set your environment variable on your PC.
Note: this installation article is only for Windows’s laptop/ desktops.
(My Computer–>Properties–>Advanced system settings –>Environment Variables)

STEP-3
In this step, we have to fill the positions of variable name and value.
Variable= ORACLE_HOME
Variable Value= D:\Oracle_12c\client\sysops\product\12.2.0\client_1

Variable= Path
Variable Value= D:\Oracle_12c\client\sysops\product\12.2.0\client_1\bin
STEP-4
PL/SQL Developer
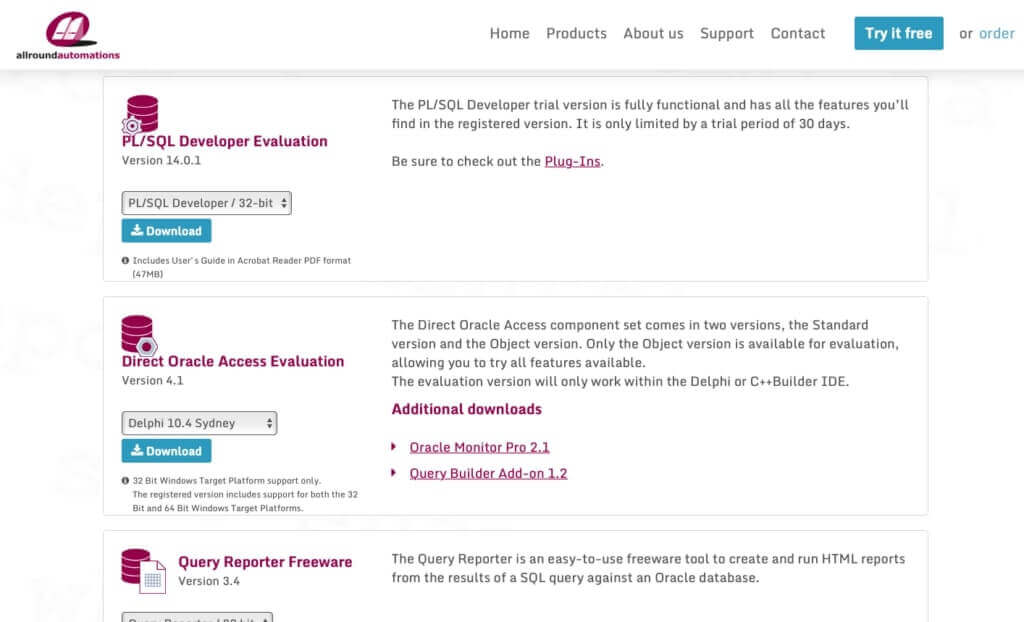
Now we are proceeding for PL/SQL installation and path setup. This is commercial software. Compared with other software, it is the best one.
You can download the PL/SQL Developer tool from here mentioned link: Click
STEP-5
Here we installing the software.
Installing PL/SQL Developer

STEP-6
After the installation process, we see the pop up of Oracle logon where you have to put our username and password.
Open the PL/SQL Developer app:
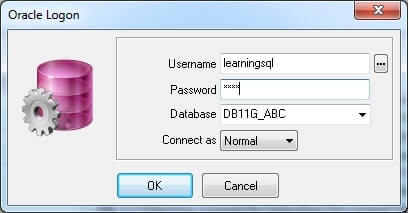
Click OK and then you get an error message:
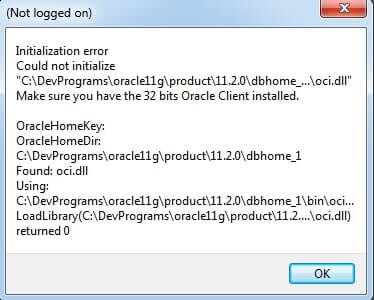
Do not worry about it. Click OK to return. Then click Cancel.
PL/SQL Developer opened, but you can’t use.
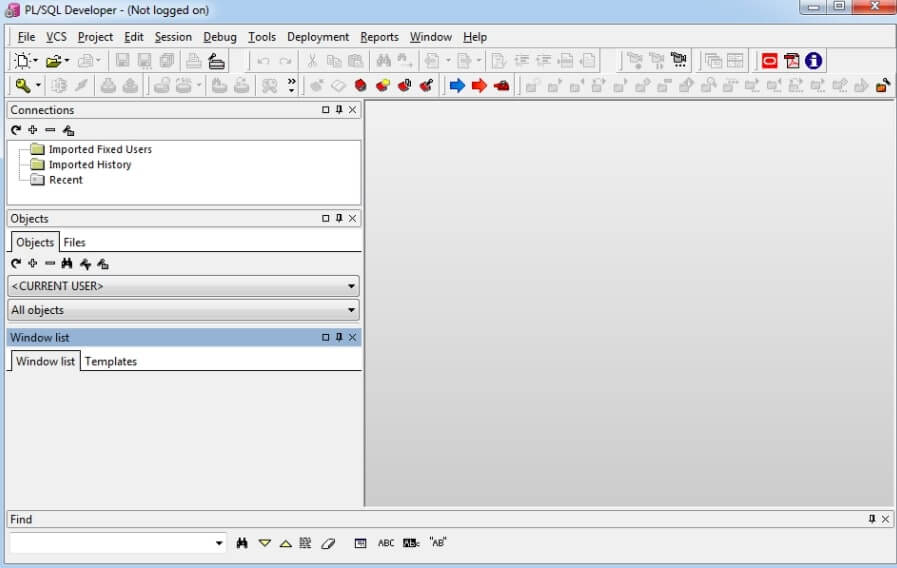
You need to configure the location of the OCI.DLL file. Make sure you have installed the Oracle Client. This is the Oracle Client folder that you have installed.
STEP-7
Now setting the preference with the path: (Tools–>Preferences)
Set Preferences in PL\SQL Developer
(Tools–>Preferences)

STEP-8
Here, we need to set both ORACLE_HOME, and OCI library for reference screenshot is given below:
ORACLE_HOME
D:\Oracle_12c\client\sysops\product\12.2.0\client_1\bin
OCI library
D:\Oracle_12c\client\sysops\product\12.2.0\client_1\bin\instantclient_12_2\oci.dll

Click OK. And rerun PL/SQL Developer. And now, you’re ready to work with PL/SQL Developer.
STEP-9
Configuring the PL/SQL Developer connects to the Oracle DB on another computer. (your computer has already installed Oracle)
This is a connection model between PL/SQL Developer and Oracle Database on another computer. On your computer Oracle Database is available.
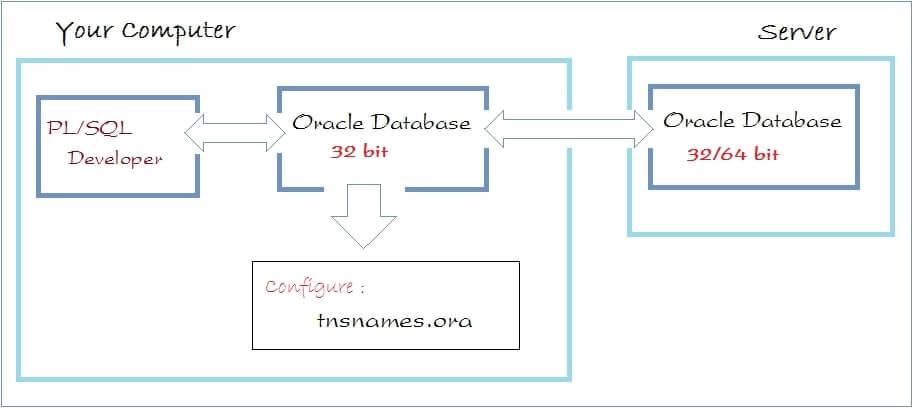
I can assume that you have successfully installed PL/SQL Developer tool to Oracle DB on the same computer. To connect to Oracle DB on another computer, you need to configure the tnsnames.ora file. In the case of Oracle tnsnames.ora file located in the directory:
PATH be LIKE THIS:
<ORACLE_INSTALL_DIRECTORY>/product/11.2.0/dbhome_1/NETWORK/ADMIN>
Here screenshot is attached for reference:-

tnsnames.ora
The “tnsnames.ora” file contains the client-side network’s form (configuration) parameters. It can be present in the “$ORACLE_HOME/network/admin” directory on the client. This file will also be existing on the server if client style connections practice on the server itself.
Here is an example of a “tnsnames.ora” file.
LISTENER = (ADDRESS = (PROTOCOL = TCP)(HOST = myserver.example.com)(PORT = 1521))

orcl.example.com =
  (TECHORACLE =
    (ADDRESS_LIST =
      (ADDRESS = (PROTOCOL = TCP)(HOST = myserver.example.com)(PORT = 1521))
    )
    (CONNECT_DATA =
      (SERVICE_NAME = orcl)
    )
  )
After completing the configuration, now connect to the Oracle Database Server. And you finished all the process of PL/ SQL developer installation.
FAQs:
1.Launch ……………….. from the directory where you created your PL/SQL file.
Answer: The SQL*Plus command prompt
2. Saving the file with which extension in the home directory?
Ans : .sql extension
3. choose True or False. If False, explain why.
Answer: True, The Routines were written in PL/SQL can be called in Oracle call interface, Java, Pro*C/C++, COBOL, and so on.
4. What are the basic sections of a PL/SQL block?
Answer: There are three sections in the PL/SQL block:
1.Declaration section
2.Execution section
3.Exception section
I hope this PL/SQL installation guide is quite helpful for you. If you have any problems with PL/SQL installation, then please feel free to contact us. In the coming article, we will discuss Datatypes, their types in PL/SQL tutorial.
Nice keep it up
It’s nice series of Articles. Best for any IT engineer.
I like the way you explain things
Keep the good work up
It is so informative… I learn so much from here.. i am waiting for another article …😊
Explanation with proper illustration made this article even more easy to grasp. Good work 👌
PL SQL developer installation process illustrated properly… Your articles are informative. You are doing very well. Keep it up!
Thank you 🙂
It was good with proper explanation.
Very informative article…!
I found your this post while searching for information about blog-related research … It’s a good post .. keep posting and updating information.thanks for posting this awesome article.
Well explained
nice post useful
Very informative
Wow Very Helpful.
Knowledgeable article