Hey guys!! Welcome back, as our previews lecture we have discussed the Java Introduction now we are going to discuss how to do Java Installation windows 10.
Java(JDK) Download for Windows 10
The first step is to download java installation files from Oracle’s website. For the latest version of java, so go to this link and accept the license agreement. Then click on the JDK download option which redirects you to a new window, which is showing in the below-mentioned picture after that we have to choose our platform and click on the download link. A .exe file will start to download.
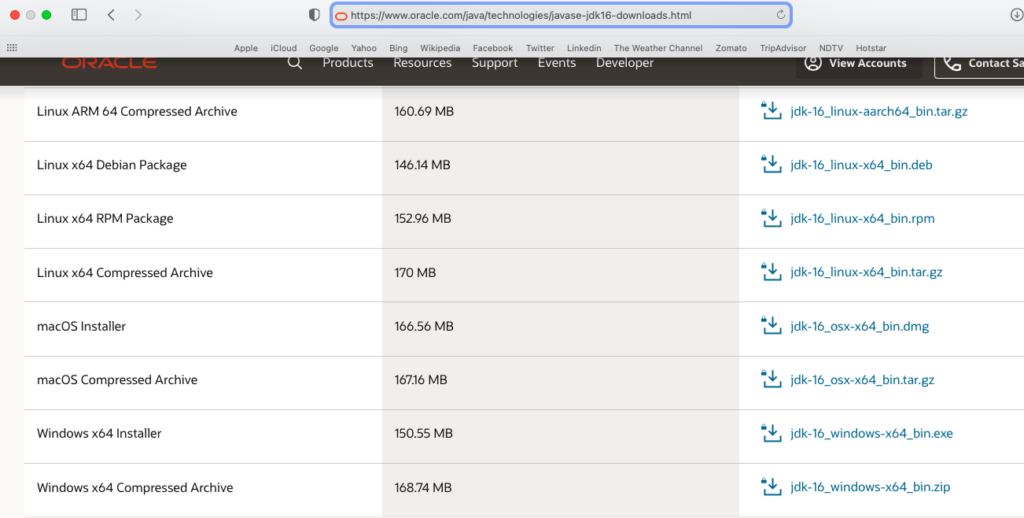
If your Windows 10 is 32-bit OS then download Windows x86 .exe file, else download the Windows x64 .exe file.
If you are not sure of your Windows version, you can simply check it in Settings > System Settings > About.

Java Windows 10 installation steps
The next step is to run the downloaded java installer executable file. Just double-click on it and follow the steps. Most of the time you don’t need to check anything and go with the default selection, below are images from my installation screens. They might differ a little bit based on your java version installation but mostly it’s the same as usual.


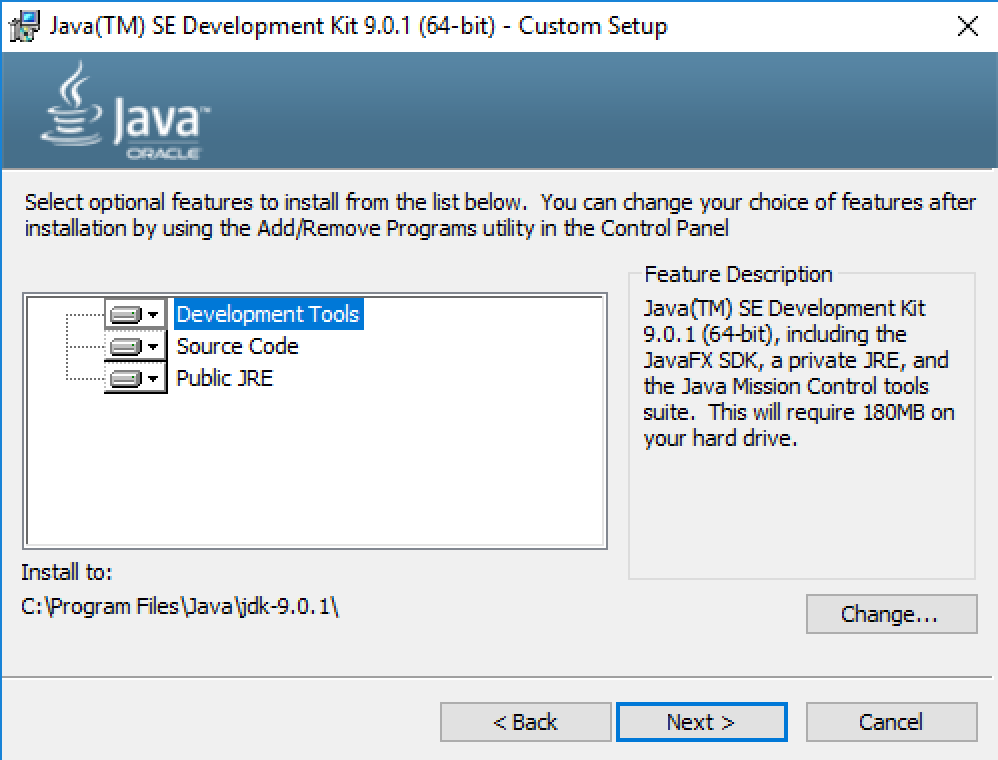
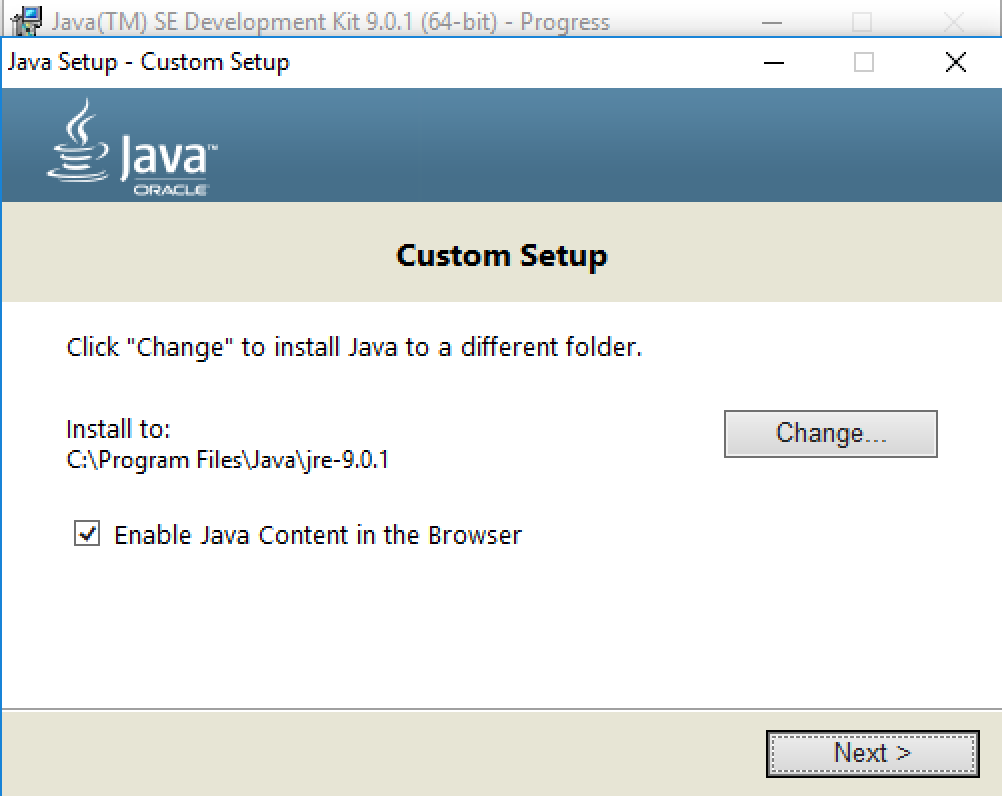
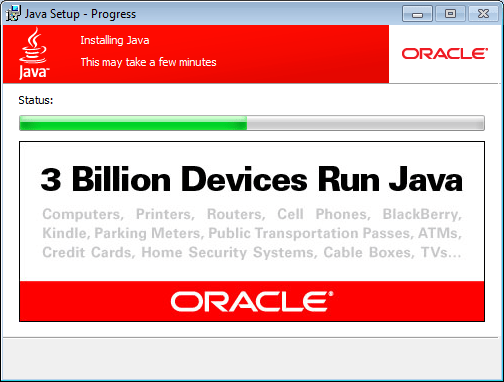
Java on Windows 10 Version Check
Finally, we have to check if java is installed properly or not. We can do that by using the java -version command in the command prompt, as shown below the image.

Note: In older java versions and other windows operating systems, you need to set up two environment variables to get it working.
Go to System Properties (Right Click on My Computer and select Properties) > Advanced > Environment Variables.
In the popup window, System variables section, click on New button and add a variable with the following details:
Name: JAVA_HOME
Value: C:\Program Files\Java\jdk1.8.0_211
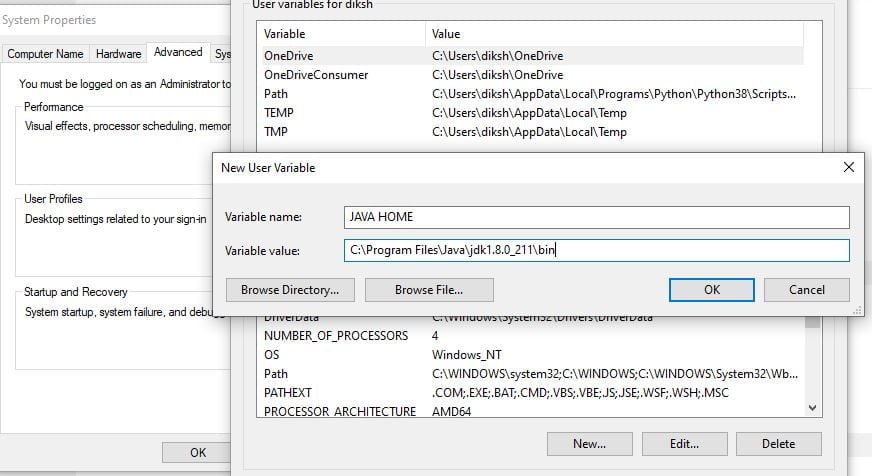
After this, you need to edit the Path variable already present there. Just select the Path variable and click on the Edit button. In the popup window value section, go to the end and add the following ;C:\Program Files\Java\jdk1.6.0_25\bin (The colon is used as a delimiter, so don’t miss that!)
Now your setup is done and you can check it by opening a command prompt and running command java - version.
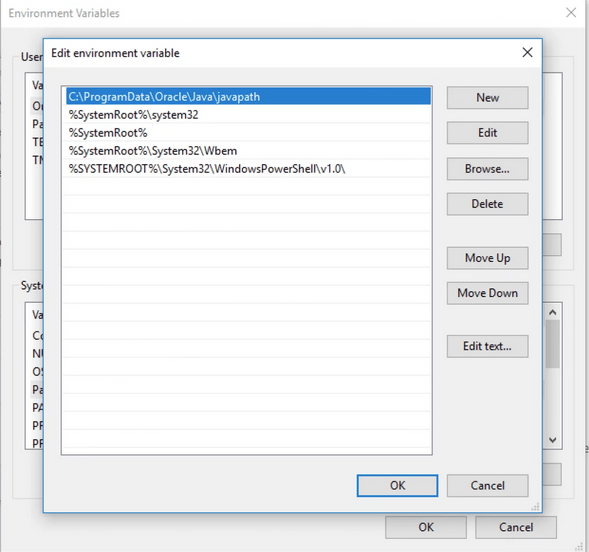
In Windows 10 and Java 9, we don’t need to do these manually. Java installer takes care of that and you can check the environment variable Path value, as explained in the below image. Note that we don’t need to set the JAVA_HOME variable.
Download and Install Java IDE
This is an optional step but highly recommended. If you want to get things done easily, you should install either Eclipse, Intellij Idea, or NetBeans IDE that helps a lot in the development of Java programs. Just download and install it with an executable file, they are straightforward.
That’s all for downloading and Java installation on windows 10. Let me know if you face any issues in setting up the environment.